Showing posts with label rulers. Show all posts

Wednesday, November 11, 2015

Perfection

Many thanks for the good wishes last week.  They helped me get back up on my feet and I am now 100% again.

In a previous post I talked about striving for perfection, but that in some quilting designs total perfection is not really required.  I can now prove the truth of that statement.

I was so excited to have a post pop up on Facebook about using rulers on a domestic machine for quilting.  It suggested using the zipper foot with the machine in free motion mode.  Wow!  What a great idea.  I will explain and show photos, but first let me give the dire warning.

WARNING:  You should use the heavier, 1/4 inch thick rulers and a thick free motion quilting (FMQ) foot.  The special foot will prevent the needle from ducking under the ruler causing damage to the needle, ruler, and worst of all the machine.


Danger:  thin ruler with quilting foot. 

Zipper foot (thick base) --  Quilting foot (thin base)
I decided to try it with a thin ruler as I didn't want to purchase an expensive, thick ruler without having any idea if it would work for me.  I was VERY careful to line up the ruler securely against the side of the zipper foot before sewing each line.  The needle was a decent distance away from the ruler.  Since the machine was in free motion mode (feed dogs down) I could move front to back and sideways with no problem.  You adjust the needle right or left until you get it where you want.

FMQ with zipper foot
TIP:  Please note the warning above.  I don't want you to ruin your machine because of this post.

I used a 6" square ruler and a 3" square ruler and found that the 6" worked better.  I didn't have any trouble moving ruler and fabric with my left hand and a glove on my right hand.  However, I decided that some grabbers might help on the back of the ruler.

Adhesive backed grabbers
Four grabbers (larger white circles) on the back of the ruler
They are great!  It was much easier to move the fabric in any direction.  It took some practice to get my stitch length regular.  Below are my best practice results.

Not perfect, but definitely acceptable!
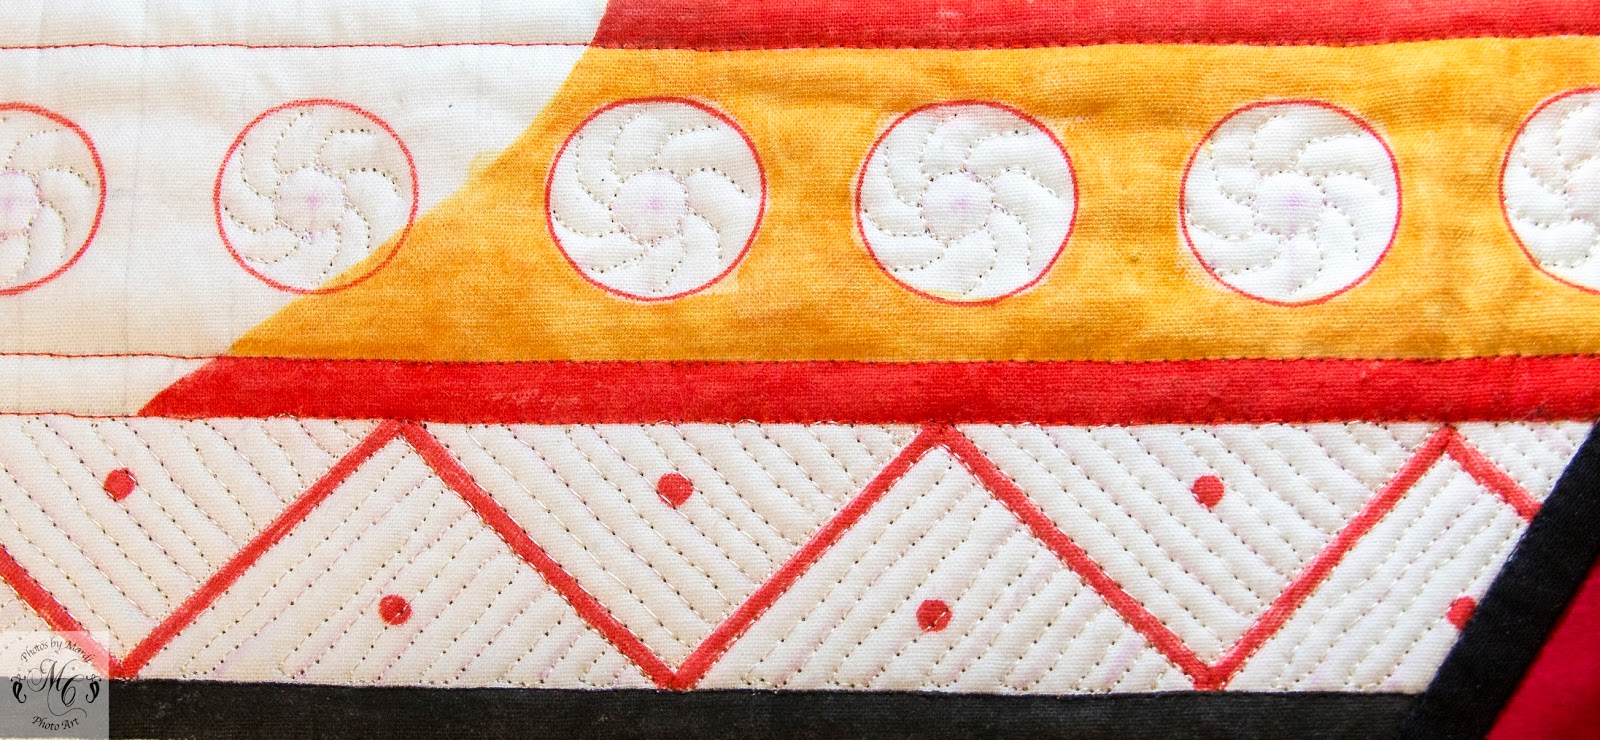
Now it was time to try it on my quilt to fill in triangles that are 1-1/4 inch tall.  First I ripped out all the stitching that I had previously done with FMQ.  The purple lines are only guides.  The stitched lines will be closer together.

Triangles waiting for fill lines.
I did three triangles with my new method, ripped out two.  Replaced them.  Ripped out one.  At that point I ripped out all three and put my FMQ foot back on, hung up the ruler and did the lines without the ruler.  They are not perfect, but they still look nice without any ripping, and it went so much more quickly.

FMQ fill.  Ruler idea discarded!

TIP:  Try new methods.  Some work.  Some don't.  I think the problem here was that the lines are so short.  I finally used a micron pen to put a tiny dot on my quilting foot which I can use as a guide to maintain spacing and direction as needed by lining it up with previously sewn lines.

I will eventually get a thick ruler because I know now that I can do this.  My daughter tells me there are places on the Web where I can get a proper foot that will adapt to my machine.  More research needed.

TIP:  Perfection is still a worthy goal, but sometimes reality looks just as nice, is easier, and saves time.

Sew a happy seam this week.

Friday, February 28, 2014

Cheerful Dragon

"Cheerful Dragon" is a wonderful name for a dragon. I looked at many websites to find a dragon that wouldn't scare my 8 year old grandson every time he slept under it.  He had seen a quilt I made for his much older half-brother and he wanted one too.  I told him I would make him a quilt, but it would not be the same as his brother's, and asked him what colors he liked.  With his information in mind I searched online for a dragon that would be suitable and found this delightful, smiling creature on a fabric panel.  Then I searched for Chinese characters to incorporate in the design, and asked his Chinese father to approve their meaning, which he did.  Designing was easy as was construction.  I just had to make sure the pieces fit together.  It was fun to do something quick and easy.


This is the only photo I have of this quilt so you will have to pardon the extraneous elements in the background (extra feet, etc.)  As you can see, this quilt became a Christmas gift that year for a happy little boy.

I ran into very few problems constructing this quilt so it was finished quickly and easily.  It mostly entailed careful measuring and cutting. You know the old adage, "Measure twice, cut once."  There is an interesting article about measuring and rulers by Jenny K. Lyon here.  I have read that you should choose one brand of ruler and use it for all your various sizes.  Personally I like the green OmniGrid rulers, and they are available in most quilting outlets.

Hoping that the quilt would be used and loved, I did not spend time with lots of fancy quilting.  The exception is that I quilted all the defining lines of the dragon and stitched every scale on his body.  Around him I quilted straight rays, which originated from the center.  The borders are walking foot straight lines 1/2 inch apart, and I outlined the characters and stippled the red panels around them.  See Leah Day for lots of quilting ideas.

TIP:  You guessed it.  Measure carefully, accurately and often.

TIP:  Stitch in the ditch in all the seams.  This will avoid slippage as you do the decorative quilting and makes it all look so much better.

Bagged the Bag

My first attempt at a picnic bag was a fail.  You saw the pictures last week.  I kept revising the design.  I clipped where I shouldn't ...