Monday, November 30, 2015

Lemonade

When life serves you lemons, make lemonade.  What a concept for life and for quilting.  If you hadn't guessed it yet, I am a flea on a hot stove, except when I am hiking (when I am really slow!).  My excitement and anticipation sometimes get me into trouble when I enter my sewing room and plow forward with determination.  That is why my faithful readers get to vicariously walk through a lot of obstacles on my blog.  I try so hard to achieve perfection, but remain quite good at making mistakes.  However, I usually am able to figure out a way to solve the problems I create, so I share.

I put together the white and the black background of the quilt.  Then I pieced the side panels and machine appliquéd them onto that background.  There was some excess black on the left side, which I intended to cut back once the sides were sewn down on top of it.  I forgot!  I didn't even think of it again....until I quilted one of the orange triangles.  It was very clear that there was black fabric behind half of it with a very visible straight edge.  It SCREAMED at me under the light fabric.  I was not going to redo the quilt or remove all the quilting that was keeping me from getting at it.

Black fabric behind upper orange triangle
So I set the "lemon" aside and did some other things that needed doing.  Then I made some Christmas presents.  Then there was lots of cooking for Thanksgiving at the last minute because icy roads prevented us from joining family for the celebration.  By this time several days had gone by, and I had finally decided what to do.

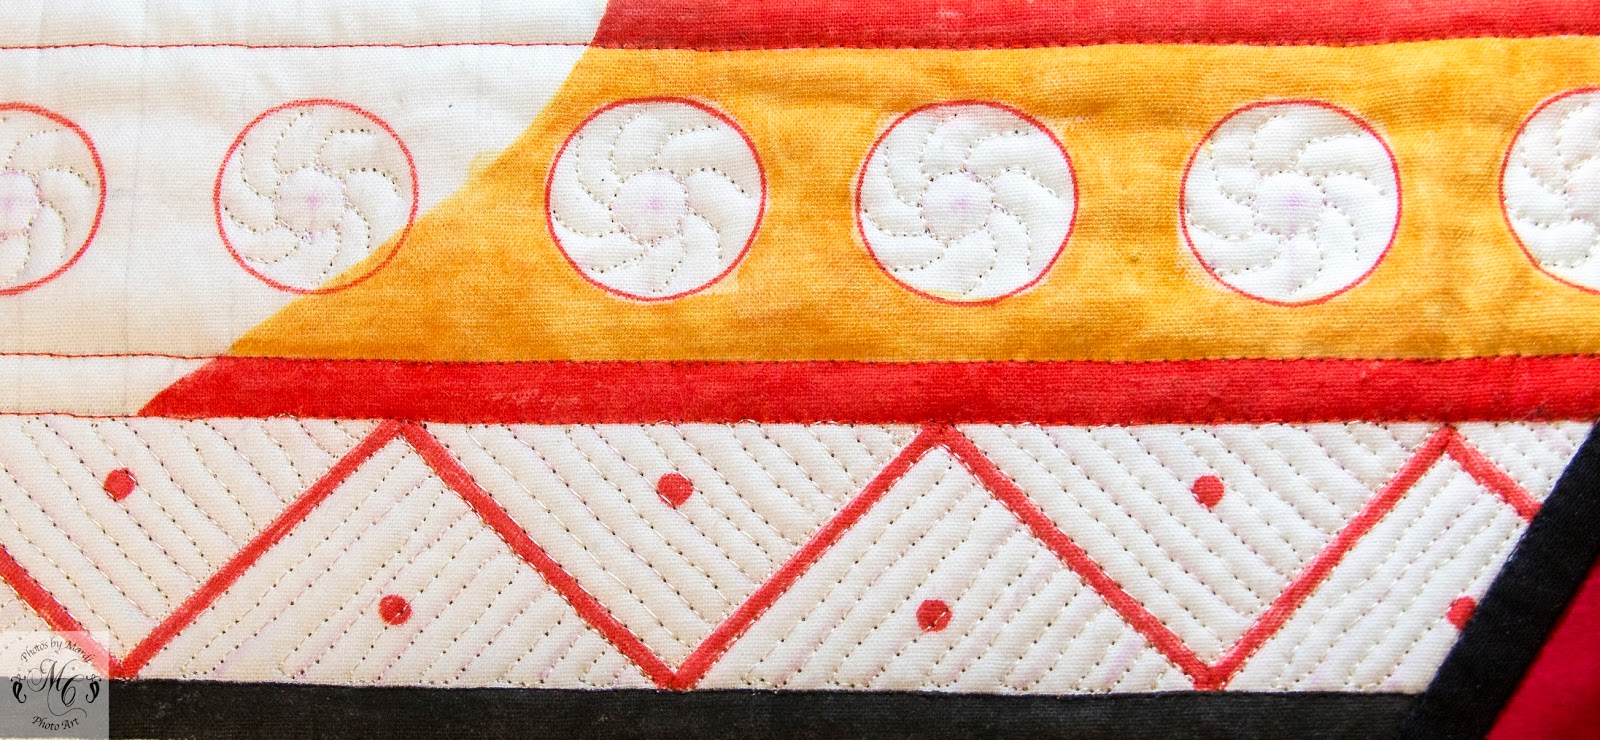
The background quilting of the offending triangle was very tightly sewn so I made a mock-up with scraps showing the black behind the orange, and then did the same kind of quilting with the same color thread.  Why?  I needed a tester.  I tried some paint, but that looked awful.  Than I wanted to see if I could take out the heavy quilting without ruining the fabric.  YES!  It worked, so I carefully ripped out the quilting of the one unsightly triangle.  It took a couple of hours and a good audio book.  Then I sprayed water on the fabric to relax the fibers and rubbed a soft toothbrush around to gently induce the needle holes to disappear.  The fabric looked a bit used, but not damaged.  Once the fabric and batting were dry I opened the triangle and carefully snipped out as much of the nasty black fabric as I could reach without cutting the quilt top.  I couldn't get it all, but as you can see below, there is no longer an eye-catching straight line of black.  A little bit is still there, but could be mistaken for a shadow or a natural dark spot in the batik fabric.  At least I hope it looks like that!  All has now been repaired, the area re-quilted, my enthusiasm restored and I am excited to move on.

After snipping out the black and redoing the area - not perfect, but OK (I hope)
TIP:  It is discouraging to make a distracting error, so leave it for awhile as you ponder solutions and decide on options.  This took me a few days.  I don't recommend tossing it in the closet until next year.  If I did that I wouldn't remember my plans for finishing and that might lead to more ripping.

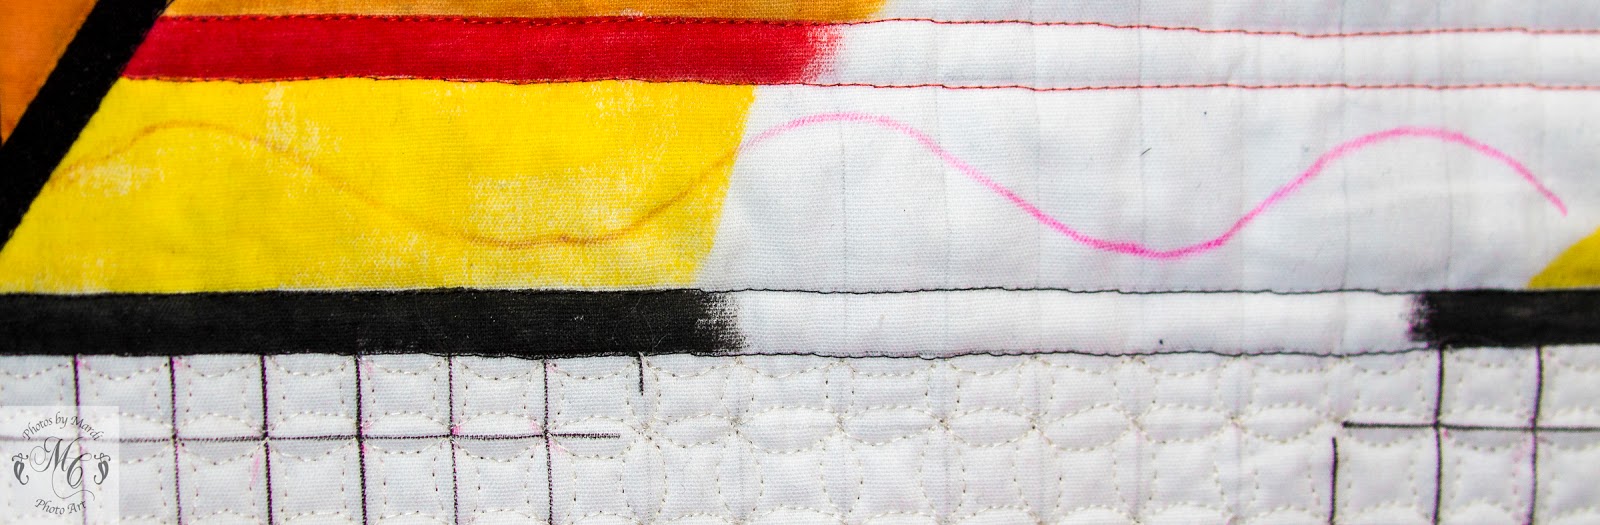
I successfully finished the background quilting and some of the pieced side borders - still more to do on the sides.  The black at the bottom will be quilted after the bird is in place.  (Don't worry, it is not crooked, but is hanging wonky with a rumple in the middle - nothing permanent.)

Background quilted and ready to receive the bird.
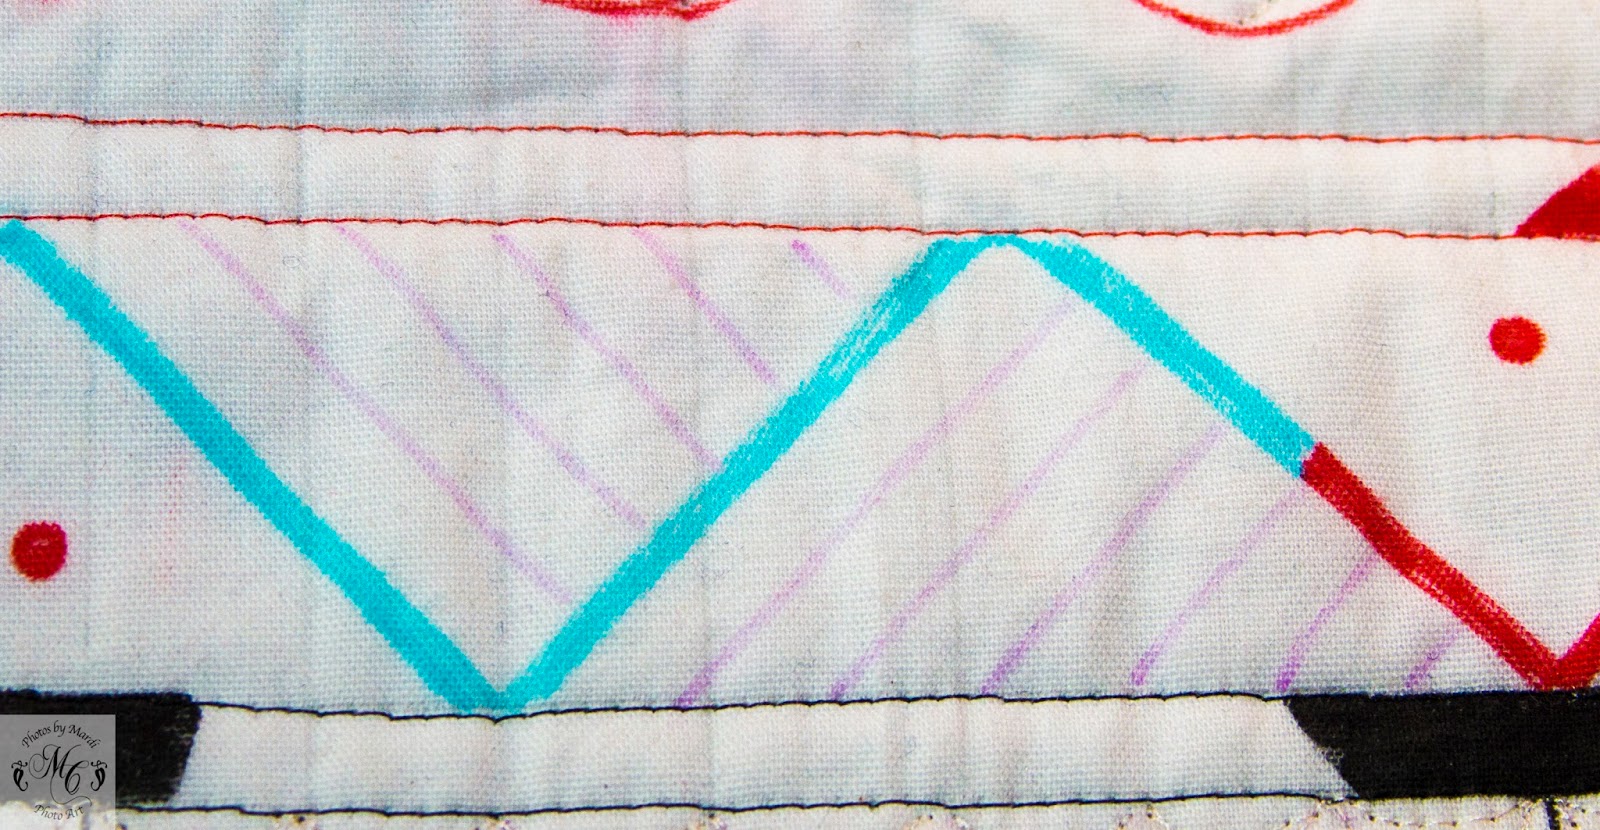
Below is the back.  I wish I had put colored thread in the bobbin for the straight lines on the pieced side parts.  Oh well, I think I will do that as I quilt the rest of those pieced parts.

Reminds me of the Mediterranean designs.

Monday, November 23, 2015

Happy Thanksgiving

Best wishes to all as we take a day off to enjoy a special day this week.  I will be baking pies on Wednesday and gathering with family on Thursday ignoring my computer and being thankful for all God's great gifts.

HAPPY THANKSGIVING
Have a great day.  Blessings to each and every one.

Tuesday, November 17, 2015

New Learning Opportunity

I love the work of Lea McComas.  Her quilts look like photos in thread, unbelievably precise and realistic.  I bought her book (available on Amazon), "Thread Painted Portraits," one year ago and used it as the basis for learning how to thread paint my Phoenix bird.   The poor creature reclines on a bed in suspended animation waiting to be sewn onto his background quilt.

Last week I discovered that Lea McComas was giving a workshop for the Rocky Mountain Creative Quilters reasonably close to my home.  I had never heard of this group, but wrote to the program contact to ask if there was room in the class.  There was one spot left and I had four days to get a check to her to hold the place.  Kindly she signed me up when I advised her that the check was in the mail.  I dragged my sewing machine and the paraphernalia needed for a full day workshop.  The class was well organized with plenty of time to try out Lea's techniques with her supervision.  She visited each pupil several times during the class to comment, critique, and approve.

I know I must finish my Phoenix, but I will have time during the holidays when I can't work on the bird, but want to have a small project to entertain me.  Using the suggested techniques I have prepared a photo of my grandson and will give it a try.  I anticipate the finished project to be about 12" x 15" so not too big.  Here is one of my photos that I prepared in Photoshop to show the areas which will be sewn with different values.  The color in his face will be more vibrant when painted with thread.  It is easier to see the values on this muted version, and they are critical for portraits.

Black Belt
Where appropriate, the hard lines will be blended together.  I am already planning my threads and have the materials on a list for the next time I descend the mountain to shop.

TIP:  Be open to new learning opportunities.  Not only did I learn a lot, I had fun and met some very nice people.  I plan to go to some of their meetings in the future and may join the group.

Sew a happy seam this week.

Wednesday, November 11, 2015

Perfection

Many thanks for the good wishes last week.  They helped me get back up on my feet and I am now 100% again.

In a previous post I talked about striving for perfection, but that in some quilting designs total perfection is not really required.  I can now prove the truth of that statement.

I was so excited to have a post pop up on Facebook about using rulers on a domestic machine for quilting.  It suggested using the zipper foot with the machine in free motion mode.  Wow!  What a great idea.  I will explain and show photos, but first let me give the dire warning.

WARNING:  You should use the heavier, 1/4 inch thick rulers and a thick free motion quilting (FMQ) foot.  The special foot will prevent the needle from ducking under the ruler causing damage to the needle, ruler, and worst of all the machine.


Danger:  thin ruler with quilting foot. 

Zipper foot (thick base) --  Quilting foot (thin base)
I decided to try it with a thin ruler as I didn't want to purchase an expensive, thick ruler without having any idea if it would work for me.  I was VERY careful to line up the ruler securely against the side of the zipper foot before sewing each line.  The needle was a decent distance away from the ruler.  Since the machine was in free motion mode (feed dogs down) I could move front to back and sideways with no problem.  You adjust the needle right or left until you get it where you want.

FMQ with zipper foot
TIP:  Please note the warning above.  I don't want you to ruin your machine because of this post.

I used a 6" square ruler and a 3" square ruler and found that the 6" worked better.  I didn't have any trouble moving ruler and fabric with my left hand and a glove on my right hand.  However, I decided that some grabbers might help on the back of the ruler.

Adhesive backed grabbers
Four grabbers (larger white circles) on the back of the ruler
They are great!  It was much easier to move the fabric in any direction.  It took some practice to get my stitch length regular.  Below are my best practice results.

Not perfect, but definitely acceptable!
Now it was time to try it on my quilt to fill in triangles that are 1-1/4 inch tall.  First I ripped out all the stitching that I had previously done with FMQ.  The purple lines are only guides.  The stitched lines will be closer together.

Triangles waiting for fill lines.
I did three triangles with my new method, ripped out two.  Replaced them.  Ripped out one.  At that point I ripped out all three and put my FMQ foot back on, hung up the ruler and did the lines without the ruler.  They are not perfect, but they still look nice without any ripping, and it went so much more quickly.

FMQ fill.  Ruler idea discarded!

TIP:  Try new methods.  Some work.  Some don't.  I think the problem here was that the lines are so short.  I finally used a micron pen to put a tiny dot on my quilting foot which I can use as a guide to maintain spacing and direction as needed by lining it up with previously sewn lines.

I will eventually get a thick ruler because I know now that I can do this.  My daughter tells me there are places on the Web where I can get a proper foot that will adapt to my machine.  More research needed.

TIP:  Perfection is still a worthy goal, but sometimes reality looks just as nice, is easier, and saves time.

Sew a happy seam this week.

Tuesday, November 3, 2015

Take Time to Contemplate

Sometimes it seems that there is no time for contemplation in our busy lives.  I have had plenty of time to contemplate as I recover from a stupid virus that has sapped my strength.  I feel better today at last, but don't have the energy to put into a blog post.  At times like this I love thinking about the beauty of the outdoors so I offer you this photo.  Look at it awhile and feel the peace of meadow, mountains, and gentle river carrying fresh, clear water.  It is restorative to sit quietly and enter into the landscape.

Morraine Park, Rocky Mountain National Park
In another day or two I will get back to my sewing machine.

Sew a happy seam this week.

Sunday, October 25, 2015

More Marking Methods

Last week I wrote about marking every little line for the pumpkin seed pattern, but different designs require different treatment depending on their complexity and the quilter's expertise.

This quilt of mine requires a lot of interesting background quilting.  It certainly isn't boring, but I have spaces that need to be filled with designs that will remain decorative but unobtrusive.  With that in mind I have made them regular and repetitious but (hopefully) engaging.  Each design fills a relatively small space and in order to sew them nicely I feel compelled to provide guidelines, but I don't need to mark every line.  There are multiple ways to do that depending on the design, so here is what I have done.  My marks today are with a pink pen which has ink that disappears gradually in air and all the way with water.

I am quilting the quilt completely and then sewing a thread-painted bird onto it.  The background is painted with Intense pencils before quilting, but I did not paint in the areas that will be covered by the bird, leaving those areas plain white.  However, I will still be quilting in those spaces so that the back of the quilt will not have big, un-quilted blotches behind the bird.  [The following photos do not adhere to any consistent scale so ignore the size differences]

The first items that need marking are 1-inch circles in which I am stitching a sunburst with curved rays.  I found I needed a grid to keep an even number of rays coming out of the center in a regular manner.  The red is drawn with micron pen and intended to be permanent.  I will not be quilting on that red line.  You can see how I marked the grid.  I free motion quilted the inner circle and then the eight rays in the manner of the blue line, moving from the center to the outside red circle in a curve and backtracking back to center, then moving on to start the next ray at the next gridline on the center ring.  They are not perfect, but they are close and reasonably regular, which I like.  Read on to see the next photo, which shows a bunch of them completed.  I will stitch pebbles
around the sunbursts eventually.

Sunburst grid
Next I have some rows of triangles,which I am filling with free motion straight lines.  I marked a few lines in each triangle to help me keep the lines as straight as possible.  Since this photo is taken of an unpainted area I used blue marker for the triangles.  The stitching will show on the back so it needs to look right.  Straight lines are not easily done with free motion, but these are too short to mess with a walking foot and turning the quilt a jillion times.  With practice it is possible to learn do them pretty evenly, and as I mentioned last week they don't have to be obsessively perfect to look nice.
.
Guide lines in the triangles
Finished sunbursts and triangles
The last areas to fill are some yellow rows that are only 1-inch deep.  I decided to do feathers, but I wanted to keep them fairly regular so I made a pattern of the curve I wanted for the spine, and cut it from a double layer of freezer paper (shiny sides ironed together).

Freezer pattern for feather spine.
Feather spine
I love doing feathers and do not need to draw them out so I will free-motion stitch them along the spine.  If  you are not comfortable with free feathers, they could be drawn with a marker too.

Feathers
TIP:  Last week a comment was made about marking with Frixon pens.  They seem magical as the marks disappear with heat from an iron or hair dryer.  I want to warn you that these pens are made for paper and not for fabric.  Their behavior on fabric was unintended, unplanned and not guaranteed.  The problem with them is that if your quilt gets cold or is shipped somewhere in freezing weather the pen marks will reappear.  It is clear that although the ink becomes invisible, it remains in the fabric in some form.  In many cases this is not a problem, but at least be aware.

Sew a happy seam this week.

Monday, October 19, 2015

To Mark or Not to Mark

There once were days when I worried so much about how to mark a quilt for quilting.  I wanted every line and every stitch marked on my quilt top.  I soon decided I would have to change my thinking because marking just doesn't always work.  The disappearing ink disappears.  Chalk rubs off.  Washable blue markers become permanent if you accidentally iron them.  Some markers don't show on dark fabric, others don't show on light fabric, and nothing shows on busy prints.  Tissue paper rips and freezer paper is too stiff.  Never fear it does work itself out with experience, but there is no right answer that covers all situations and personal preferences.

So then the problem becomes, "Do I really need to mark?"  As usual the answer is, "It depends!"  I wanted all the answers packed into neat compartments that would be tailored to every occasion.  Yeh, right!!!  However, I now recognize the situations where I need to mark and where I am comfortable doing truly free-form, free motion quilting.  You will too as you move along and gain experience, and each one of us has different needs and capabilities.

I am currently doing the pumpkin seed design in a 1/2 inch grid.  This is a nice size, but there is not much room for error if it is to look nice, so I am taking the time to mark every line with a disappearing ink pen, which has a relatively sharp tip.  I find it a lot easier in a tight space to have lines to follow.  My ink drawing is free-hand and not perfect, but I am more confident with a pen or pencil than with the needle in these small spaces.  My stitching isn't perfect either, but I like to think the imperfections are fewer and less noticeable when I mark in this situation.

Marking with air-disappearing pen

TIP:  Many experienced quilters say that your quilting does not have to be computer perfect.  In fact I have often read that it is better, more organic, more real if it is not so exact. There is nothing wrong in striving for perfection, but don't be too hard on yourself when you fall a little short.  You will improve with every quilt.  After all you are only human, and sometimes you might have to rip (shhhhh!) and that's OK too.

Here is the stitched result.  It gives such a pretty, almost architectural texture that will not distract from the main event, which will be the Phoenix bird.  The black lines of the grid are done with a black micron (permanent) pen and are part of the intended background "painting."

Pumpkin seed design quilted
I leave you to ponder your quilting while I spend my time doing an awful lot of pumpkin seeds.

Sew a happy seam this week.

Bagged the Bag

My first attempt at a picnic bag was a fail.  You saw the pictures last week.  I kept revising the design.  I clipped where I shouldn't ...