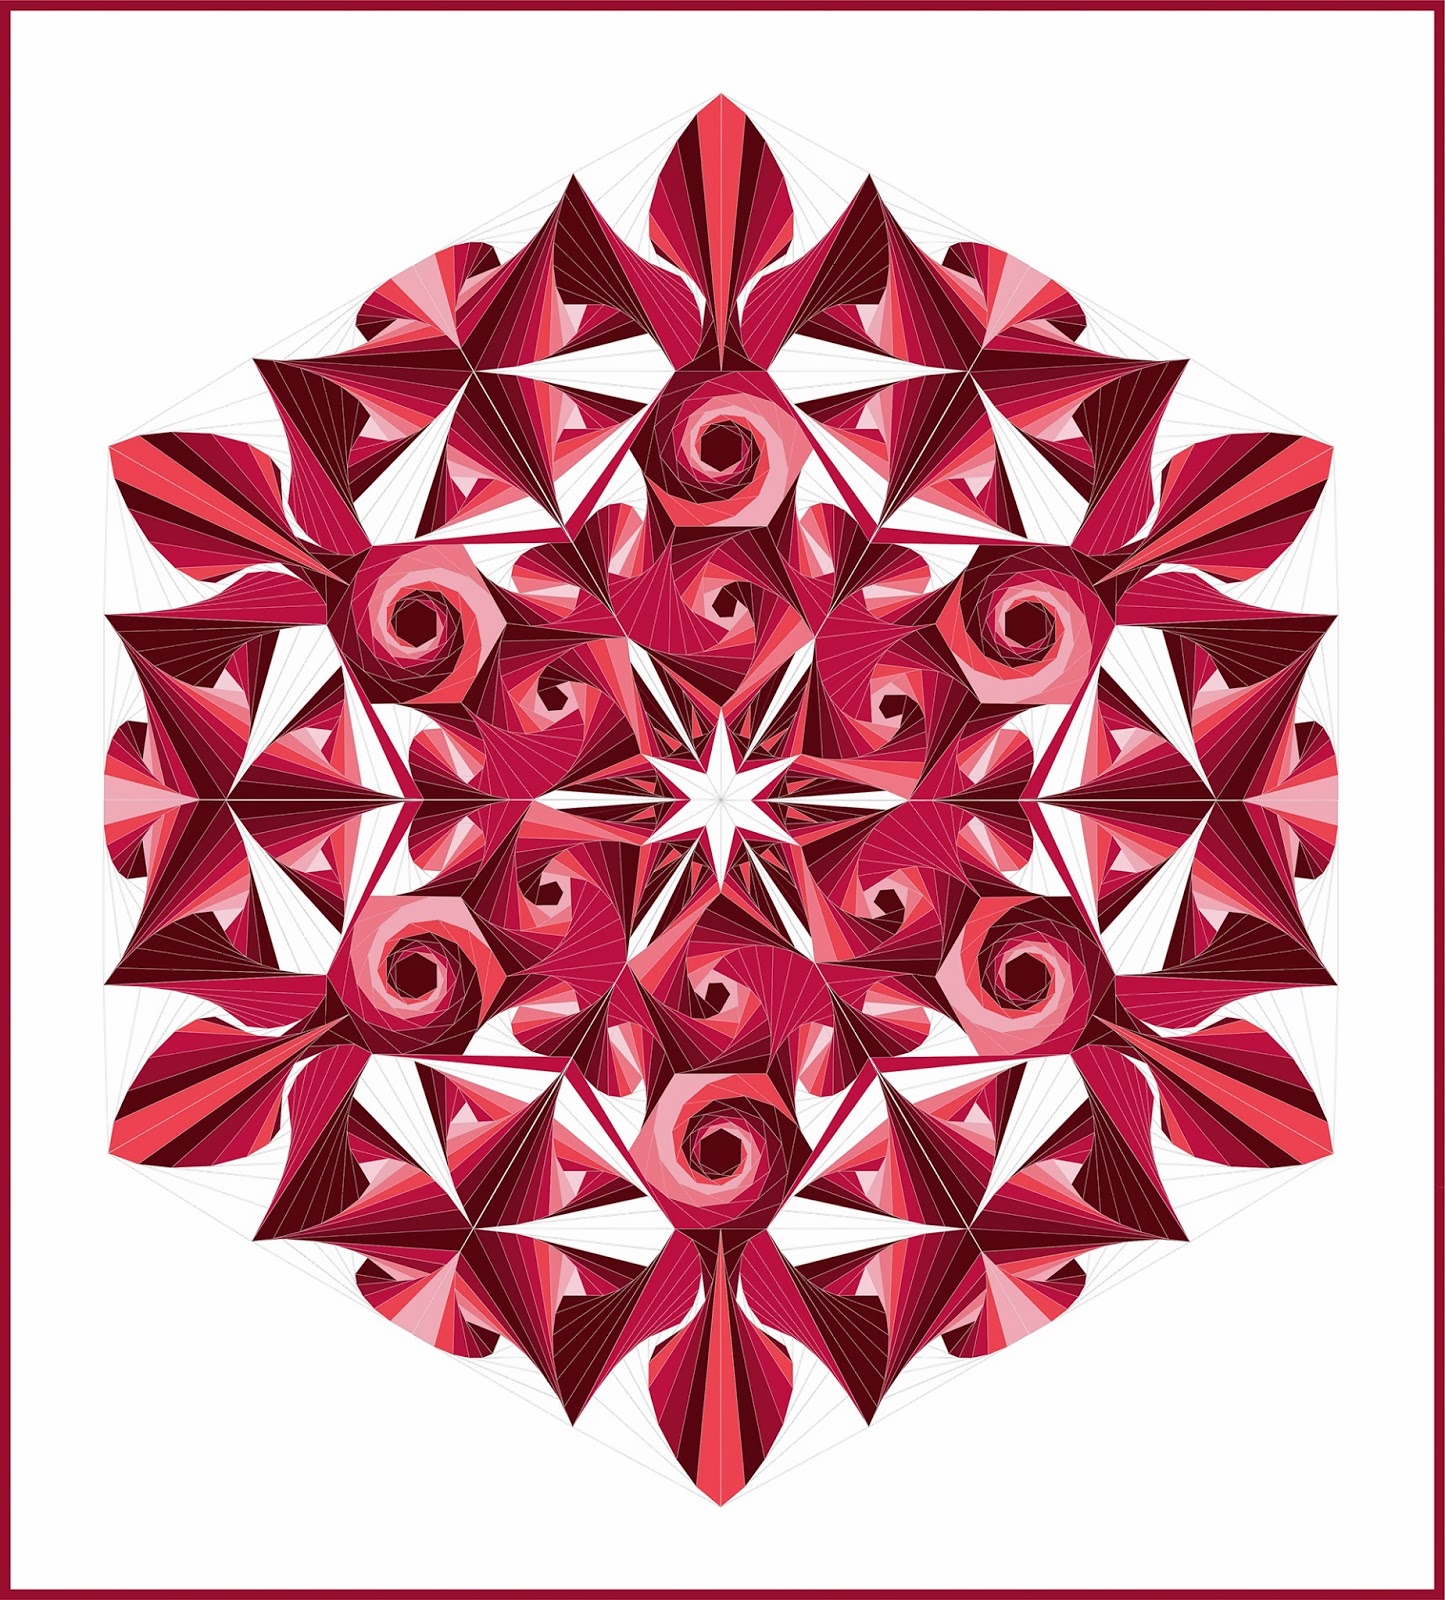
Here is a quilt that was just plain fun. It is called a Puzzle Quilt from the book "Puzzle Quilts: Simple Blocks, Complex Fabrics by
Paula Nadelstern. She is another very talented fabric and pattern designer and quilt maker. The idea is to cut triangles from different, interesting fabrics, and she gives direction as to what is likely to work best. In doing this I learned a lot about which fabric motifs create movement and make a block more interesting. I also fussy cut some of the triangles. My finished blocks were to be 12 inches square so I cut a piece of cheap, plastic tablecloth about 16 inches square, set it on my ironing board, and arranged triangles on the flannel back until I got a pleasing design. Ms. Nadelstern suggests several main arrangements with variations for each, but your fabric choices are what will make your quilt. She also shows photos of several finished quilts. I loved playing with the fabrics and even dragged my husband in for his opinion now and then. Since his head works very differently than mine, I got some interesting opinions, many of which were very useful.
TIP: Avoid open windows and fans or you might get a colorful snowstorm of triangles.
 |
| Puzzler |
I read the book fairly completely before I did the quilt, but I missed a critical element. I wondered why she called it a "puzzle quilt." Later I read that you are supposed to make your blocks so that there are two of each pattern, for which you use different fabric choices. If you number my blocks like you read a book then #2 and #6 are the same pattern. The idea is for an admirer to try to find the blocks with the same pattern. I didn't do that, but instead just played, had fun, and love this quilt that now resides on the back of my sofa. It is the perfect size to use for decoration or as a lap quilt.
For quilting I used the
Baptist Fan design. This link takes you to a website that shows a very clever way to draw the design. I happened to use Adobe Illustrator on my computer. Once I had the design printed I copied it onto one piece of
Golden Threads tracing paper. Then I cut 12 pieces of the tracing paper, each large enough for a block, stapled them securely together and machine stitched through the pile without thread. This left holes as guide lines. You can also stitch through only one if you want to use pouncing chalk. I suppose you could use your walking foot to do the quilting, but I decided to try my hand at free motion so I could avoid turning the quilt so much. I did OK, got a lot of practice, broke a few needles and broke the thread sometimes, but those frustrations can provide motivation if you can figure out what caused them to happen. I quilted a simple design in the sashing, but still used the tracing paper to keep it regular. (Sorry the photography is not up to snuff here, but the quilting is pretty much background noise and doesn't show much even on the quilt itself. Great way to learn!
TIP: Read the books you buy! It is amazing how much you can learn when you think you already know how to do something.
TIP: Triangles have a bias edge and you must treat it with gentle hands and move it through the machine without stretching if you plan to have a quilt with straight edges. Please be sure that the straight edges are on the straight and crosswise grains of the fabric or you might have an unpredictable mess when you put the quilt together.
TIP: Cut the triangles a smidge large, then carefully measure and trim each square after sewing two together, making sure the diagonal line of the ruler lines up with the diagonal seam. That way the 12 inch block will come out to be the proper 12 1/2 inches (that includes 1/4 inch seam allowance).


