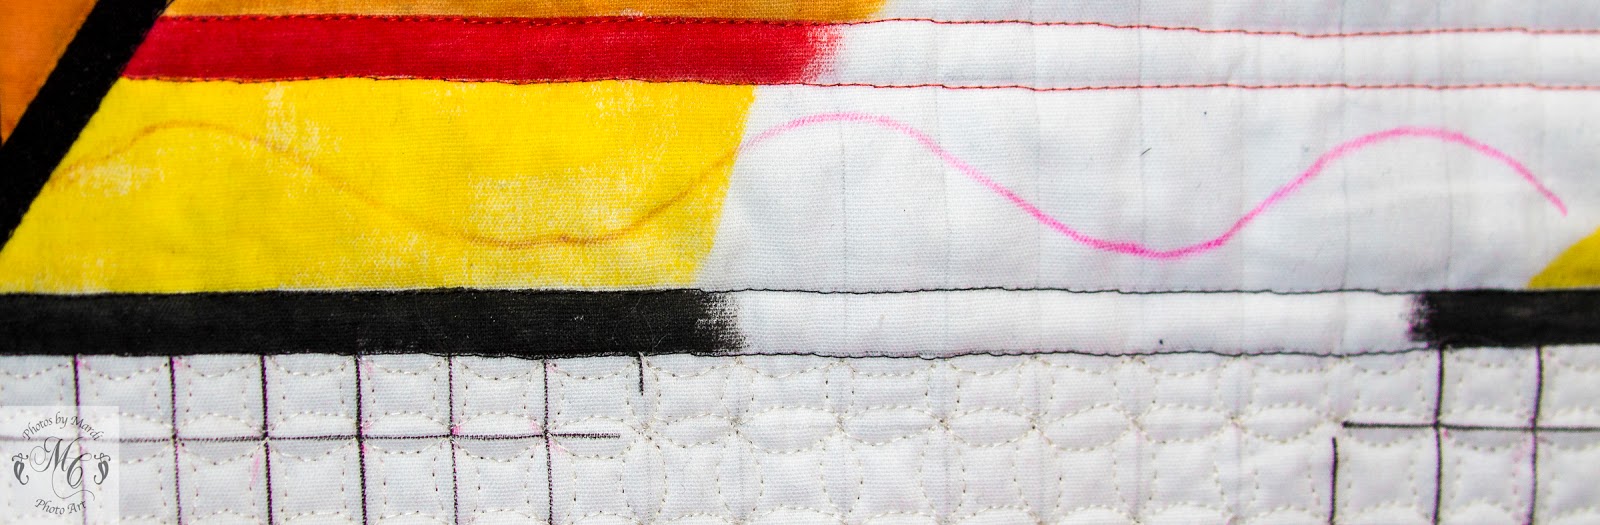
This quilt of mine requires a lot of interesting background quilting. It certainly isn't boring, but I have spaces that need to be filled with designs that will remain decorative but unobtrusive. With that in mind I have made them regular and repetitious but (hopefully) engaging. Each design fills a relatively small space and in order to sew them nicely I feel compelled to provide guidelines, but I don't need to mark every line. There are multiple ways to do that depending on the design, so here is what I have done. My marks today are with a pink pen which has ink that disappears gradually in air and all the way with water.
I am quilting the quilt completely and then sewing a thread-painted bird onto it. The background is painted with Intense pencils before quilting, but I did not paint in the areas that will be covered by the bird, leaving those areas plain white. However, I will still be quilting in those spaces so that the back of the quilt will not have big, un-quilted blotches behind the bird. [The following photos do not adhere to any consistent scale so ignore the size differences]
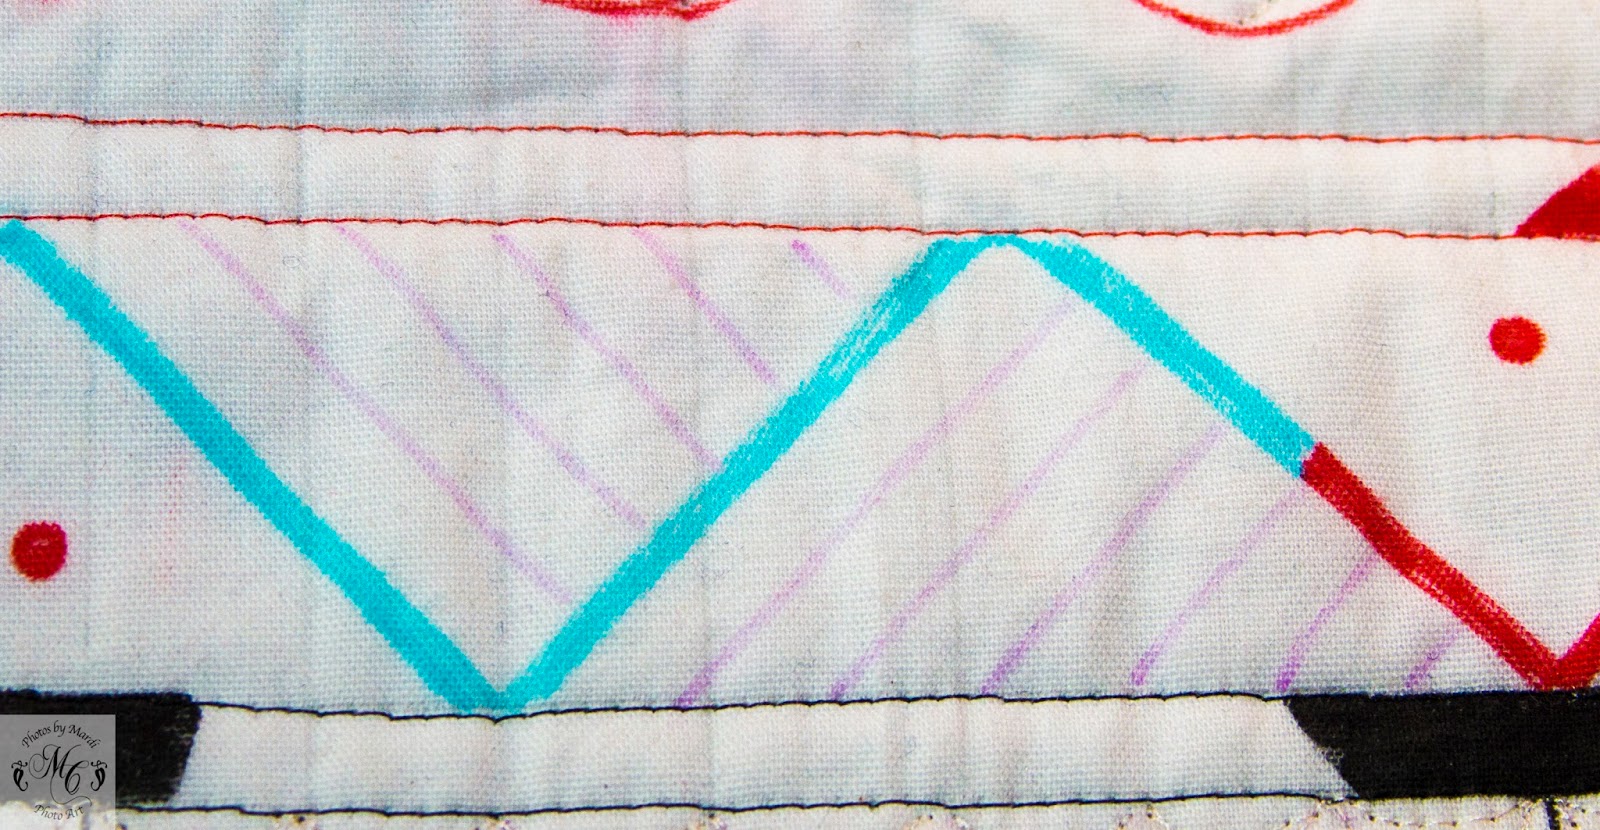
The first items that need marking are 1-inch circles in which I am stitching a sunburst with curved rays. I found I needed a grid to keep an even number of rays coming out of the center in a regular manner. The red is drawn with micron pen and intended to be permanent. I will not be quilting on that red line. You can see how I marked the grid. I free motion quilted the inner circle and then the eight rays in the manner of the blue line, moving from the center to the outside red circle in a curve and backtracking back to center, then moving on to start the next ray at the next gridline on the center ring. They are not perfect, but they are close and reasonably regular, which I like. Read on to see the next photo, which shows a bunch of them completed. I will stitch pebbles
around the sunbursts eventually.
 |
| Sunburst grid |
.
 |
| Guide lines in the triangles |
 |
| Finished sunbursts and triangles |
 |
| Freezer pattern for feather spine. |
 |
| Feather spine |
 |
| Feathers |
Sew a happy seam this week.


Great quilting. Thank' s for the warning about my use of Frixion pens. So far so good but I'll bear it mind xx
ReplyDeleteThanks for all the quilting tips. ;)
ReplyDeleteSome great tips!! Thanks for sharing :)
ReplyDeleteI'm always interested in marking techniques that others use. Thanks for sharing yours, and thanks for linking up to MCM. :)
ReplyDeleteGreat post about marking for FMQ. My experience with when to mark and when not to mark is similar to yours. Thanks for sharing your experience and your tips. All very helpful.
ReplyDelete