Method I. I learned this by following the directions in Lea McComas' book, "Thread Painted Portraits," and additionally from attending a class she taught.
1. Using a posterized black and white version of a photo, trace it on the dull side of freezer paper and carefully label by value (#1 = white, #5= black, #2-4 = in-between values; and/or color). Starting with the lightest value (#1) mark those edges with a red pencil where you will cut extra fabric to slip under the adjoining piece(s). Remember to work so that light color goes under a darker color.
Pro: This keeps everything clear and straight, and pays off in the end.
Con: Time consuming.
TIP: Don't rush. Doing it right saves time in the end.
TIP: Pre-shrink the freezer paper by running a dry iron over it, lifting it, then pressing it a second
time. Believe it or not, it does shrink and can mess up your plans.
 |
| Labeled drawing. Letters refer to color, numbers indicate value. (Click to view large) |
Pro: This gives you a master copy for reference.
Con: Time consuming.
TIP: A light table is invaluable here, but taping it to a window works too.
TIP: Cut your pattern pieces as you go or it will be a major puzzle sorting them out.
TIP: I keep the cut patterns in labeled envelopes so I can find them if I change my mind about the
fabric I chose originally.
3. Iron your basic, freezer paper pattern to an ironing surface and lay a silicone press sheet over it. You need to be able to see through the press sheet to the pattern. Iron fusible material to the back of your chosen fabrics. Using the cut freezer paper patterns, cut out pieces. Using the tip of your iron, tack your cut pieces of fabric in their assigned places to the ironing sheet.
Pro: The cut pattern pieces are right side up and placed on the right side of the fabric. No
confusion.
Con: Lots of little, pattern pieces running around. Potential for unnecessary fabric waste.
TIP: To avoid fabric waste, don't put large amounts of fusible on your fabrics at one time.
TIP: I like SoftFuse. It only has one layer of paper and is no trouble to quilt through.
TIP: Don't forget to cut extra fabric on your fabric pieces where the red marks are on your
patterns.
 |
| Extra fabric where pattern is marked with red arrows. |
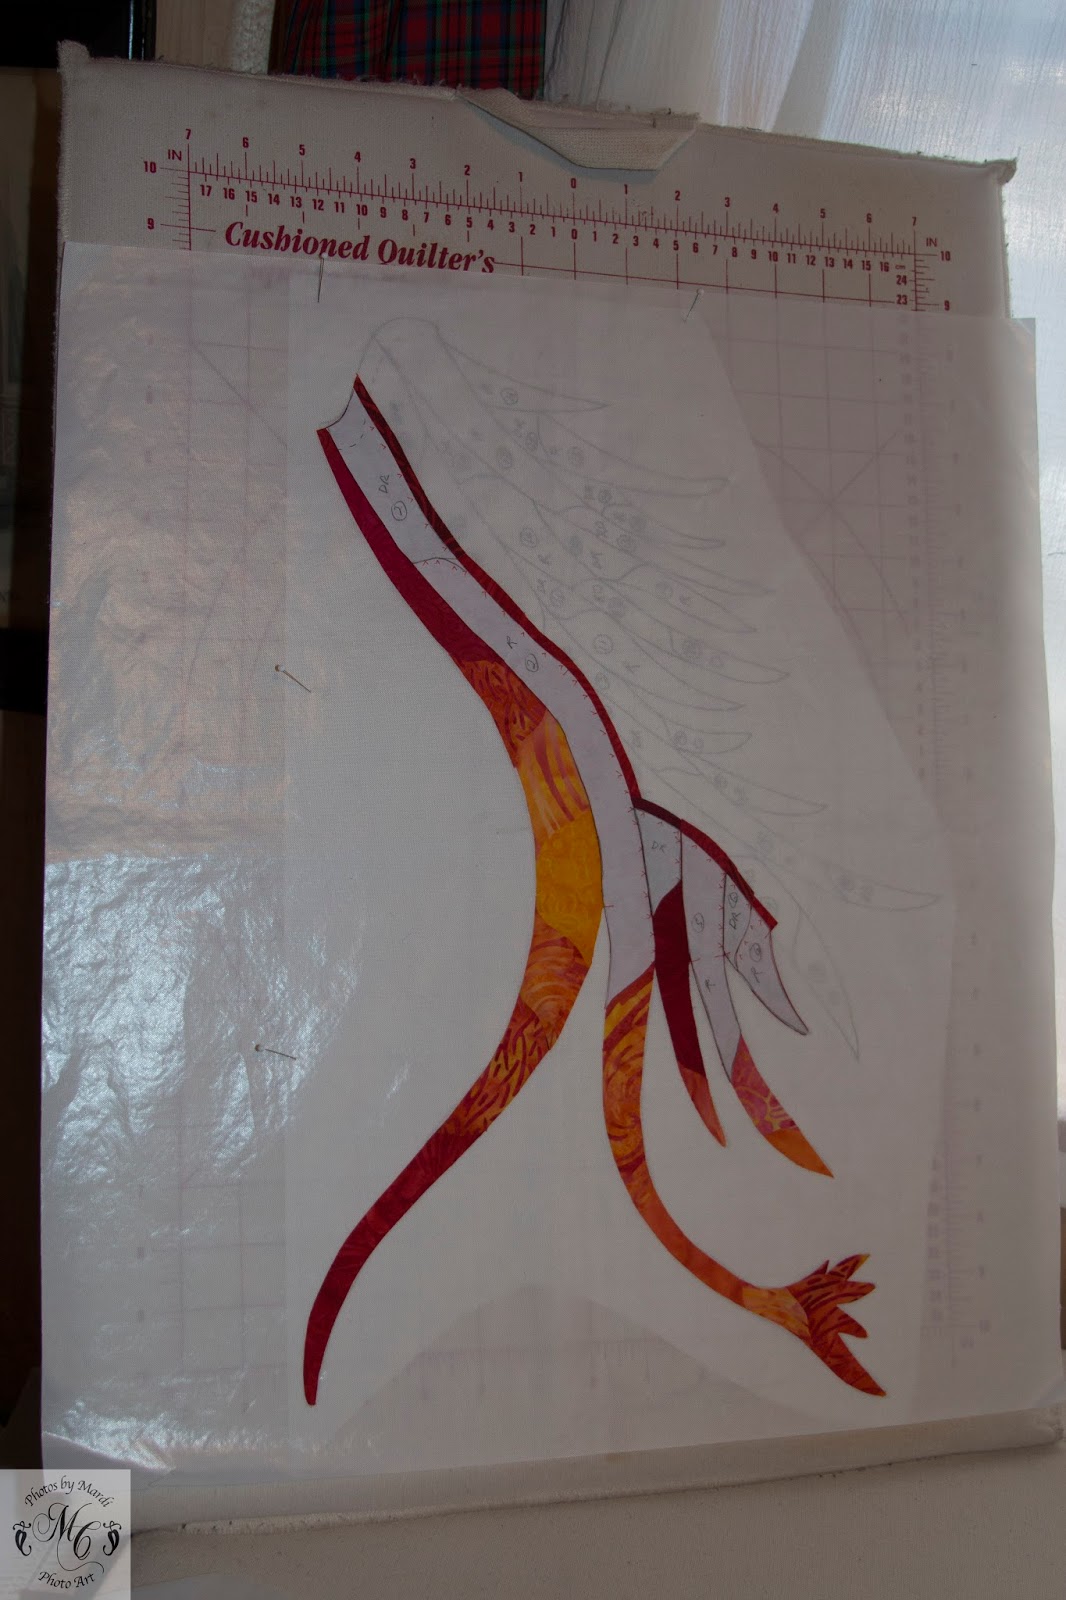 |
| Basic pattern beneath pressing sheet; fabric with fusible and cut patterns on top. |
Pro: So cool!
Method II. This method was learned during a class taught by Barbara Yates Beasley on creating animal portraits.
1. Draw outlines delineating color and/or value on clear mylar with a fine, black Sharpie pen. The backside is used for making pattern pieces. Each outlined space becomes one little piece of fabric.
Pro: The mylar is very easy to work with and trace on; can be erased with alcohol and used again.
Con: It is easy to mix up front and back.
TIP: Using a posterized, black and white version of your photo may help with the drawing.
TIP: Label the backside of the mylar with "Pattern" or some indication as to which side you are
working with.
 |
| Yes, you saw it last week! |
Pro: It is easy to put each piece in its place on the muslin.
Con: It is easy to get lost if you are looking at the pattern side so you have to remember to turn the
mylar over to match the piece to its place on the muslin.
TIP: If you are comfortable with the computer you can do your drawing on the photo (I use
Photoshop) before printing, then trace those lines on the mylar. This would then show you the
pattern pieces from the front side on the printed photo (no constant flipping of the mylar).
3. Turn the mylar over to use the backside as the pattern.
Pro: Easy to draw patterns.
Con: Easy to forget which side you are working on and end up with the fusible backwards.
TIP: Mark the backside of the mylar so you know which side is up.
4. Trace a piece from the mylar basic pattern onto Steam-a-seam 2 Lite, which has paper on each side of the fusible (sandwich style).
Pro: It is easy to see the lines for tracing.
Con: Sometimes the fusible sticks to the wrong piece of paper and you have to mess with it to
move it to the paper with the tracing on it.
TIP: Check which side the fusible is clinging to before tracing.
5. Cut around pattern piece roughly, take off paper backing and iron to wrong side of fabric.
Pro: Little fabric waste if no mistakes.
Con: One more time to remember which is front and back.
TIP: Chin up - do it enough and you'll keep it straight.
6. Cut closely around the piece leaving about 1/16 inch outside the drawn line to nestle under or on top of adjoining fabric pieces and set in its place on the muslin.
Pro: The piece of fabric with the fusible clings lightly to the muslin and pretty much stays put
until ironed.
I found that this method messed with my mind: Wrong side, right side, which side; diddle, diddle dumpling, one ear wrong. Several errors with wasted time and materials challenged me to remember.
The major problem that I am still wrestling with is that the Steam a Seam 2 Lite gums up my machine needle. Their website says it was designed to not be gummy, but "if it does" you can use Sewers Aid (silicone liquid) on the needle to help it slide through. I find myself constantly cleaning the needle with alcohol and applying Sewers Aid. I am still getting skipped stitches and broken thread especially if I move the fabric toward me. A 90/14 needle helps a bit, but makes visible holes in the fused fabric. Maybe that will resolve. I have done a lot of turning this little quilt to prevent the hiccups, but I miss the freedom of movement, and have given up on considering this as a show quilt. The quilting is not up to snuff, but I am not doing it over. Chalk it up to the learning process. I still love the way my dog turned out.
This is long. I hope it is helpful
Sew a Happy Seam this Week or try some fabric fusing.





