Saturday, September 19, 2015

Battle Plan

Cathy commented on my last post about my "battle plan."  Unfortunately, I had been been battling with emotions rather than plans.  Struggling with testers. Figuring out how to do it.  Jayne Bentley Gaskins responded to my email about the thread painting problem even though she was busy setting up a second home in VA.  She kindly shared her expertise and encouraged me to stay with it and try to use the bird that is already thread painted.  So I sat down and did some more testing.  I am going to go for it.  I am so glad to have my decision made.  After two weeks of waffling I am ready to move forward with a true battle plan.

TIP:  When you have a fail and want to move on it helps to walk away for awhile, do something else and let the ideas percolate.  In time it all settles into place and your brain adapts to new possibilities.  Mistakes often evolve into new techniques.

TIP:  Don't be afraid to contact other quilters even if they are well-known and published.  If they don't answer, no loss, but quilters are some of the nicest people with whom I have ever associated.  In my experience they are kind and willing to share.

I have begun the tedious job of drawing the background design on a new piece of fabric.  I say tedious, because it involves drawing precise lines with Micron pens, which are very permanent.  These lines must be measured as exactly as I can manage so I spent two-plus hours working very carefully. Measure twice, check it out, measure again, say a prayer, and draw the line.  I made two slight errors:  one will be painted over and I hope the bird will cover the other.  If not, I will figure out something on the fly, an extra feather or something.  There is a lot more to do, but the areas with the 1/2 inch grid are finished > sigh of relief.  Fatigue reared its ugly head so it was time to quit for the day.

Grid with freezer paper to guide the extent of design so I don't waste
my Inktense pencils.

What did I do differently and better?  I planned out the lines of the background design better.  I will no longer have the bird eating a golf ball.

From the trashed quilt.
I will no longer have a black line of pieced fabric lining up with a black line of background.  I thought that looked a little funny, but I couldn't do anything about it first time around and was just glad I could line them up exactly rather than slightly off.  Now I don't have to worry about that as the point will be in a section of grid rather than on the edge.

From the trashed quilt.
I painted the crosswise, dividing lines with Inktense pencils and got a deeper, more vibrant color this time.  I masked each line with masking tape and was able to pencil harder and darker because I didn't have to worry about going out of the lines.  I used a popsicle stick to rub the tape down tight so no color could escape.  Same thing when I applied the fabric medium over the pencil.  Much easier.  I don't know if it saved time or not, but I am pleased with the results.  Compare the painted black lines in the above photo with the new ones below.

Lines done and masking tape in place for the next one.
I have a lot more painting to do while the bird just relaxes behind my sewing machine waiting for its resurrection.  Actually, it kind of looks dead doesn't it?  Spooky!  Just wait....


Sew a happy seam this week.

Sunday, September 13, 2015

Opportunities

Have you ever looked at your quilt and said, "I wish I had done that differently.  I have such a good idea, but it didn't come to me soon enough.  I wish...., but not enough to take it out and do it over."  Every now and then you might have that opportunity for improvement, but I guarantee you will not be happy at first.

I have been quilting along on my Phoenix bird, but I looked at it differently when I laid it out and showed it to my daughter.  The bird is beautiful by itself.  The rest of the quilt looks and feels like warped cardboard.  Oh dear!  This is not going to be good enough to show and none of my photos show how bad it is.  I can't imagine it blocking out.  It won't even be good enough to give to my sweet granddaughter who drew the design.  Realization.  Devastation.  Destruction of denial.

I have been going through past issues of Machine Quilting Unlimited, and serendipitously came across an article by Jayne Bentley Gaskins, "Taking Trapunto to the Limit." I looked at it months ago, but forgot it completely because it didn't apply to my quilting plans at that moment.  She made a beautiful parrot, but she thread painted it separately then appliquéd it to the background by thread painting the edges down so they melded with the previous work on the bird.  She also stuffed the bird heavily (trapunto) with polyfill so it sticks out significantly from the quilt.  One of her points was that the heavy thread painting dramatically shrinks the fabric, which is exactly what happened to me.  I knew that would happen, but thought I had prepared for it adequately with two layers of stabilizer.  Instead, I was left with an unmanageable volume of fabric around the edges so I quilted the background heavily, which took up the excess, but the whole thing ripples like a bad storm at sea.  On the sewing machine it looked ok.  Laid out on a flat surface it is hopeless.

TIP:  Sometimes there is only so much you can do before it is time to throw in the towel, but what a great opportunity to rectify mistakes and make a truly magnificent quilt.  Wipe away the tears and start planning.  Maybe you'll feel better if you move on to a new project, but do move on.  None of us is perfect.

I had to accept that I now have an opportunity to fine tune the quilt and try some new methods.  My cup is quickly moving from half empty to half full and I am ready with new plans.  I thought I could cut out the bird (batting and all) and thread paint the edges down to a new, fully quilted background, so I tried it on one of the old testers that I had laying around.  The bared edges flaunted the layer of white batting.  Ick!

Cut out feathers
OK, how about painting the edges with Inktense pencils?  Great idea.  So I tried it out:

Painted edges.
Better, but not great.  Next I tried stitching the feathers (with painted edges) to another tester piece, which was layered for quilting, and fooled around with some stitching.  Ah, that looks pretty good with just a straight stitch run back an forth along the edges.

Stitched down
Not bad.  DH liked it and so did I.  So...I sat down and cut out the whole bird trying to avoid cutting stitches on the outside edges.  I did cut a few, but figured I could fix that when I stitched the bird down, but then I found another problem.  The back neck of the bird looked like he had been slammed by a rock and had a major bump.  The black backing was also badly frayed after being handled so much.  That's when I threw in the towel.

I ordered light weight canvas and Misty Fuse and I am ready to start completely over.  I will fuse fabric pieces for the feathers to the canvas and thread paint the bird.  I still have to work out the potential of heavy fraying with canvas and how to handle it.  I will do all the quilting for the background separately from the thread painting.  I will then cut out the bird and appliqué it onto the "finished" quilt.  I am already excited about it.  I kept all my pattern pieces and guides so I am ready to go.  With all that done, plus many hours of practice at thread painting I am optimistic that all will go well and faster than first time around.  I've got my mother's bulldog gene!

TIP:  Practice may not make perfect, but it will make better.  I am counting on that.

An apropos quote from "Art and Fear" by David Bayles and Ted Orland:"
"The function of the overwhelming majority of your artwork is simply to teach you how to make the small fraction of your artwork that soars....even the failed pieces are essential"
Sew a happy seam this week.

Thursday, September 3, 2015

Testing Always Works - NOT

I spent a lot of time testing materials and techniques for my Phoenix bird and was confident that I had the process carefully planned.  In March I wrote:
Quilting
Normally I don't worry much about my quilting ahead of time although it does bang around in my head as I work.  However, on this project I have thought a lot about how to quilt the painted background so I tried some of my ideas.  When I looked at the results I realized that there was way too much interest and texture.  The problem is that the bird will be very flat after all the thread painting and I don't want the background to cause visual interference.  My new decision is to do McTavishing with champagne-color, silk thread.  This will tame the beast and still look really nice, maybe a little like smoke from the fire below the bird.  It will allow the bird to fly. 

Now the bird is done, the fire is done and one side of the painted background is McTavished.  The result?  I don't like it at all, even though it looks great on the back:

Backside Quilting 
Unfortunately, I don't have a picture of the front, which may be stuck in Adobe Lightroom, which won't open.  Computer frustration is as bad as quilting frustration.  Anyhow, the background is very geometric (thread painting of the bird has not been done in the photo below):

Note background here
When I looked at the McTavishing I had done, I felt it fought with the background design with bumps and poofs that didn't align with the geometry.  The bird is so vivacious and colorful that the background couldn't possibly outshine it.  So I ripped out all the McTavishing, and did precise, tight, geometrical fillers in each section of the background.  BTW  the thread was silk and it is strong and slippery so is relatively easy to rip out...the operative word here is "relatively."

Here is an example of what I finally decided to do with the background:

New background quilting plan
It eats up the extra fabric that was created by the thread painting, but there are still problems, which I will describe next week.

TIP:  Testing is very important in the development of your quilt, but remain flexible because things don't always work out as planned.  (Stay tuned).

Sew a happy seam this week.

Monday, August 24, 2015

More Hoffman Challenge Quilts

Today I have more Hoffman Challenge quilts.  If you didn't see the ones I posted last week, just scroll down to my last post.


More elephants.  I love this parade.


A colorful, pretty sampler.


Isn't this horse a beauty?


More of the popular elephant theme.


Whimsical and fun.


This was very unusual design with color that really caught my eye.


Lovely appliqué and nice quilting.


Great dancing gypsy.  I loved the use of the challenge fabric in this one.


The intricate design caught my fancy on this one.


An interesting "modern" quilt.  It was sad to see the obvious fold lines, and they were a distraction on many of the quilts.  I can only assume that they were packed too tightly for their trip to Loveland.  However, it was a great show.  It is fun to see how all different quilters use the same fabric.

Sunday, August 16, 2015

Visiting the Hoffman Challenge

The complete Hoffman Challenge is shown at the Rocky Mountain Quilt Festival and of course I never miss it.  I went through and took photos of the quilts that struck my fancy -- no other rhyme or reason.  I decided not to include the winners, but there were many and I found myself taking a picture and then realizing that quilt was a winner so I decided to just have fun and click away.  I didn't get all the winners, but you can see those quilts and and challenge fabric on the Hoffman Challenge site.  Click on the 2015 fabric to enlarge it.  Click "Winners" to the right of the fabric swatch/thumbnail to see the winning entries from all categories.  I apologize that I don't have the names of the contestants or the titles of their entries.  There was a big crowd and I couldn't be too fussy without interfering with other peoples' enjoyment.  Just have fun looking at the quilts.


There were a lot of elephants this year.  The fabric lent itself to eastern motifs.


Whimsical.


I loved this.  I am pretty sure the face was painted,  It was not thread painted.  She won "Best First Time Entry."


In spite of the dark fabric, this was bright and cheery.


This was a spiral quilt.  The judges seem partial to them with all the intricate sewing.


Another well-done whimsical piece.


These camel were fun with the facial detail.


Another elephant idea with an interesting backdrop.


This artist added lots of color to her design.  It really stood out among the others.


A few of the dolls.  They were in a dark spot where it was hard to get a decent photo.

Next week I'll post some more of the entries.

Sew a happy seam tis week.

Tuesday, August 11, 2015

Creativity

My house is still in disarray.  My sewing room is crowded with stuff that doesn't belong there.  I am quilting black on black, which is frustrating because it is hard to see.  I need the magnifying thing that fits over my head and that is a nuisance.  I took a break and sewed a different spot with red on top and black in the bobbin (backing is black, top is orangy).  When I looked at the back it was clear that my tension was off so I ripped it out.  That's my day so far, and we all have those days sometimes.  Life is just that way.  OK, I'm done venting!

I was reading a very uplifting article in American Quilter by Thomas Merton, "Transformation: Art from Within."  He tells about how several churches got together to provide opportunities for prisoners in a local correctional institution to do creative activities.  These activities also had a spiritual side beyond individual beliefs, time for discussion and much more.  Can you imagine having to log out every piece of equipment used for a project, and then log it back in when the session is over?  I will never look at my sewing tools the same:  seam ripper, stylus, scissors, pins.  The inmates respond positively to the chance to do something creative, and I am sure some of them never imagined they could create anything.  The goal is to help them transform themselves as well.

The article mentioned two particular women from rival gangs who ended up sitting together because all other seats were taken and they had no choice.  These women learned about each other and found common ground, which broke down engrained barriers.  In many ways creating something of beauty was freeing for them as it is for us.  The art that the inmates have created will be on display at the San Jose (CA) Museum of Quilts and Textiles from September 12 through November 2015.

This is what keeps me sewing, drawing, painting and taking photos.  It is so uplifting to create something.  It doesn't matter if you use a pattern and sew together traditional blocks or if you start from scratch and design your own.  We each have our own talents and inclinations so listen to your inner voice and enjoy your creativity.  It truly is a source of freedom and accomplishment, even on a bad day.

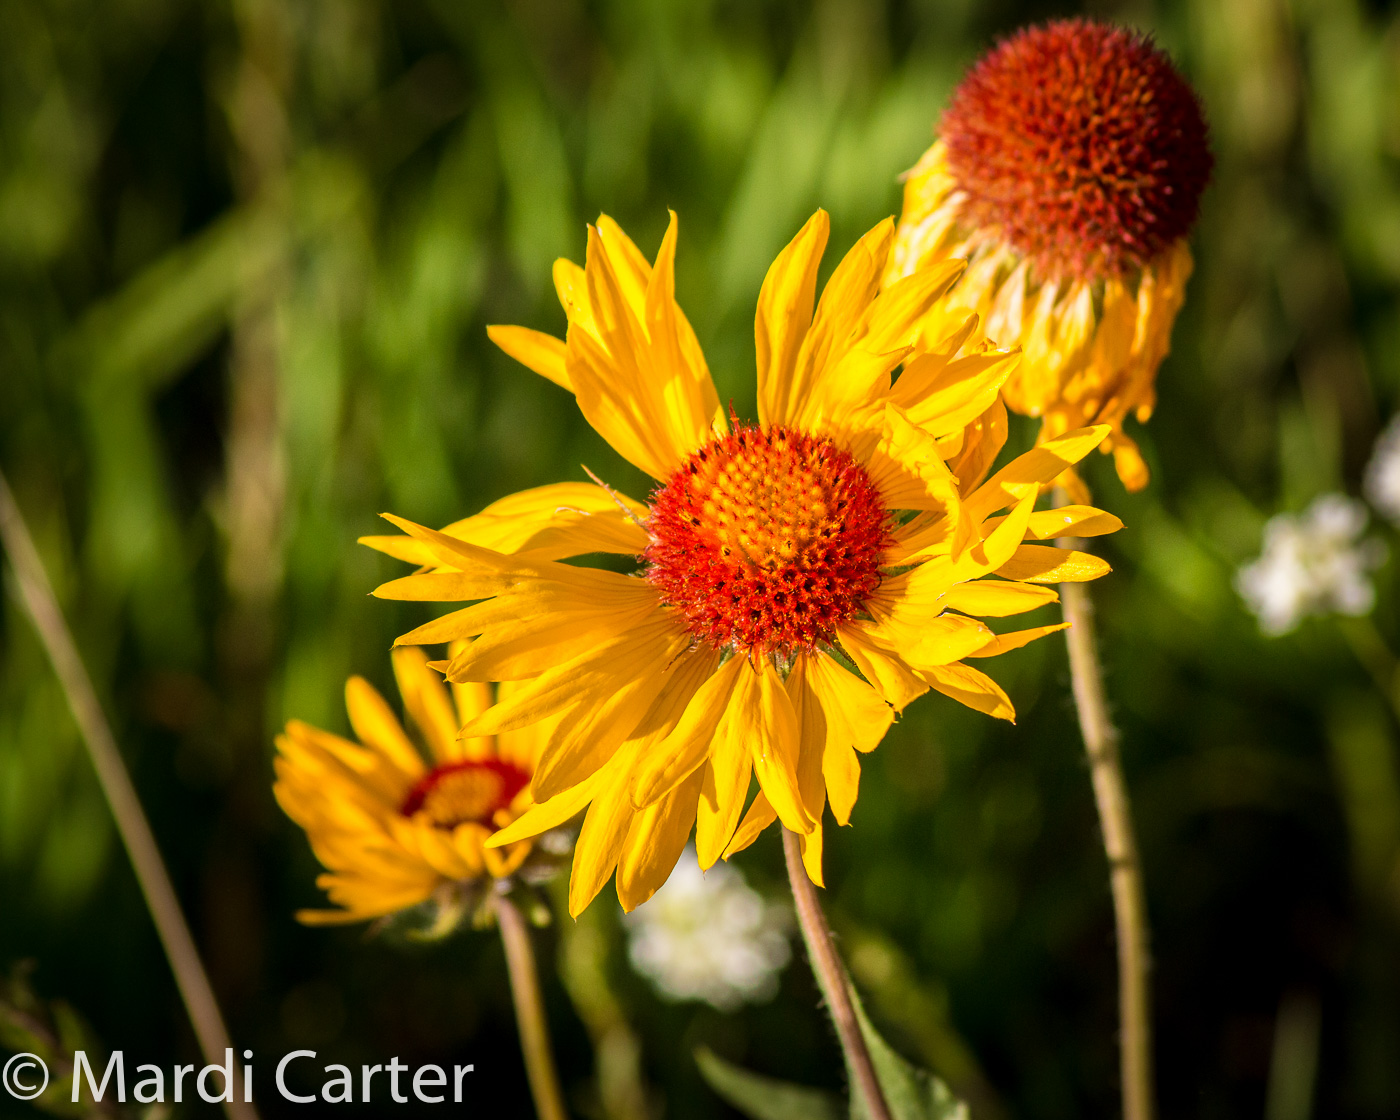
Wild Gaillardia aka Indian Blanket - work of the Supreme Creator
BTW after my session with the seam ripper I put red thread in the bottom, tightened the tension and sewed up some nice looking quilting.  Was that cheating to put red thread in the bottom just so any glitches won't show?  Of course not.  I am looking to make my quilt and my quilting look the best it can with the skills I have.  Besides, that fire-red stitching looks great on the black backing (especially with the adjusted tension!).

TIP:  They say you shouldn't go to bed angry.  When training a dog you always want to finish a session with something she does right.  Try to rectify at least some of a sewing mistake before you quit.  You'll be more enthusiastic about returning to a project if you are ready to move on.

Creativity is allowing  yourself to make mistakes.  Art is knowing which ones to keep.  (Scott Adams)

Sew some happy seams this week.

Monday, August 3, 2015

Just Had to Do It

There has been so much going on here.  More jam, peach this time, more varnishing, more gardening.  The latest blow to my time is that we have one more room to panel in the house and that is our bedroom.  My "office" is a tiny nook in one corner and I had to completely dismantle it as part of the renovation.  This meant that DH had to move his stuff out of his office so I could set up my computer there.  He uses a laptop and doesn't need the desk temporarily.  You can't even imagine the mess the house is in.  My sewing room was commandeered for some displaced items, the rest are all over the living room, and I gave up sewing for a week.  At least my piano is clear so I can play a little to relieve the tension.

Well friends, that can only last so long before my sewing gene refuses to settle.  I just had to do it.  I went into the black hole (usually called a sewing room), straightened things out by finding a better arrangement for uninvited items, and sat down to sew.  Oh the joy.  I started out with orange pebbles under my fires and then proceeded with black pebbles and McTavishing, continuing to fill the background, which still has a lot of fullness.  It is working well capturing and taming that excess fabric so my time went really fast.  I feel refreshed.
Pebbles under the fire.
I did orange pebbles under the fire, thinking of hot coals.  They show up more in this photo than on the actual quilt, but there is still an orange coloration that is different from the black quilting in the rest of the background.  It grounds the fire, or so I tell myself.  Anyhow I like it.  None of the black thread quilting has been done in this photo.

TIP:  When you are busy take time sew even if it is for a short time.  If you truly love it you will come away refreshed and ready to take on the world, knowing you have accomplished something.

Sew a happy seam this week.


Bagged the Bag

My first attempt at a picnic bag was a fail.  You saw the pictures last week.  I kept revising the design.  I clipped where I shouldn't ...